mobile » iOS Setup
Introduction
It is common knowledge that the iOS automation can only be performed on Apple’s hardware - iOS-supported device or MacOS system like MacBook and iMac. However, with Nexial it is possible to execute mobile automation remotely from a non-Apple hardware. This means that you can run your automation scripts (Nexial) from a Windows or Linux system, and the corresponding commands execute on a remote MacOS system. In addition, one can employ cloud test platform such as BrowserStack to enable remote automation. Note that for local testing on real devices, the iOS-supported devices must be connected to a MacOS system.
Before iOS automation can be performed, we must first prepare the target MacOS system. This involves a series of one-time software installation (all free). Follow the guide below to complete the installation and preparation work.
Note that most of the information below derived from other websites, particularly from:
Pre-requisites
- macOS 10.11 or higher (latest recommended)
- iOS device with iOS 9.3 or higher (latest recommended)
- Enough storage to install Xcode, NodeJS and a series of free software (below). Approximately 40 GB.
Installing Required Software
Install Latest Xcode
- Install the latest Xcode from Mac App Store
- Read about why Xcode is needed to automation iOS devices
- Install Xcode command line tools
xcode-select --install sudo xcode-select -r - Change permission and accept xcode license
sudo chown -R $(whoami) /usr/local/share/man/man5 /usr/local/share/man/man7
sudo xcodebuild -license accept
Install Appium Desktop
- Navigate to appium-desktop release page.
- Select the distro for Mac version (i.e.
Appium-mac-....dmg) to download. - When the download finishes, double-click the
.dmgfile. Then drag and drop the Appium icon into the Application icon. - Follow the additional environment set up documented in Install and Configure Appium
Install Homebrew (for managing missing packages and dependencies) from https://brew.sh
Open a terminal session and enter the following command:
/bin/bash -c "$(curl -fsSL https://raw.githubusercontent.com/Homebrew/install/master/install.sh)"
Install Support Software for Appium and iOS Automation
Open a terminal session and enter the following commands (OK to run a few lines as a time):
brew install carthage
brew install node

brew tap wix/brew
brew install wix/brew/applesimutils

brew install ios-webkit-debug-proxy
brew install osxfuse
brew install ifuse

brew tap facebook/fb
brew install idb-companion
pip3 install fb-idb --user
brew install fbsimctl

brew install libimobiledevice
brew install ios-deploy
npm install -g authorize-ios
brew install ideviceinstaller
Install appium-doctor
Appium Doctor checks most of the preconditions for Appium to run successfully. In order to install it, run the following command:
npm install -g appium-doctor
appium-doctor

Check log (example above) to ensure that all the required components are properly installed.
Additional Notes
To find the UDID of the connected device or simulator, here are a few ways:
- To find the UDID of connected device:
idevice_id –list - To find the UDID of running simulator:
xcrun simctl list | grep Booted
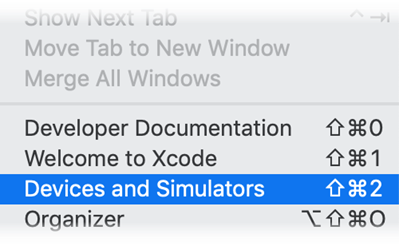
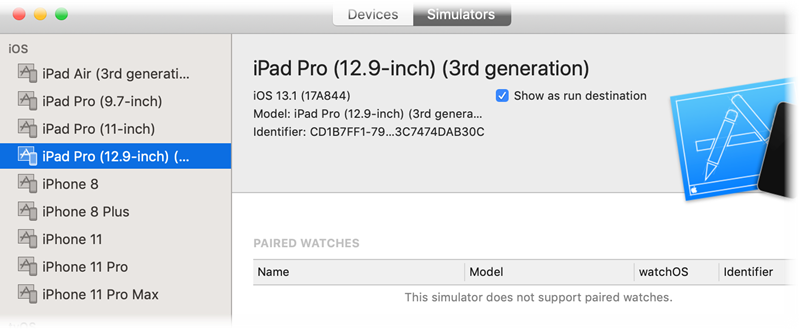
- Use Xcode to find the UDID (Identifier) of connected devices and simulators:
Xcode -> Window -> Devices and Simulators -> Select Device